

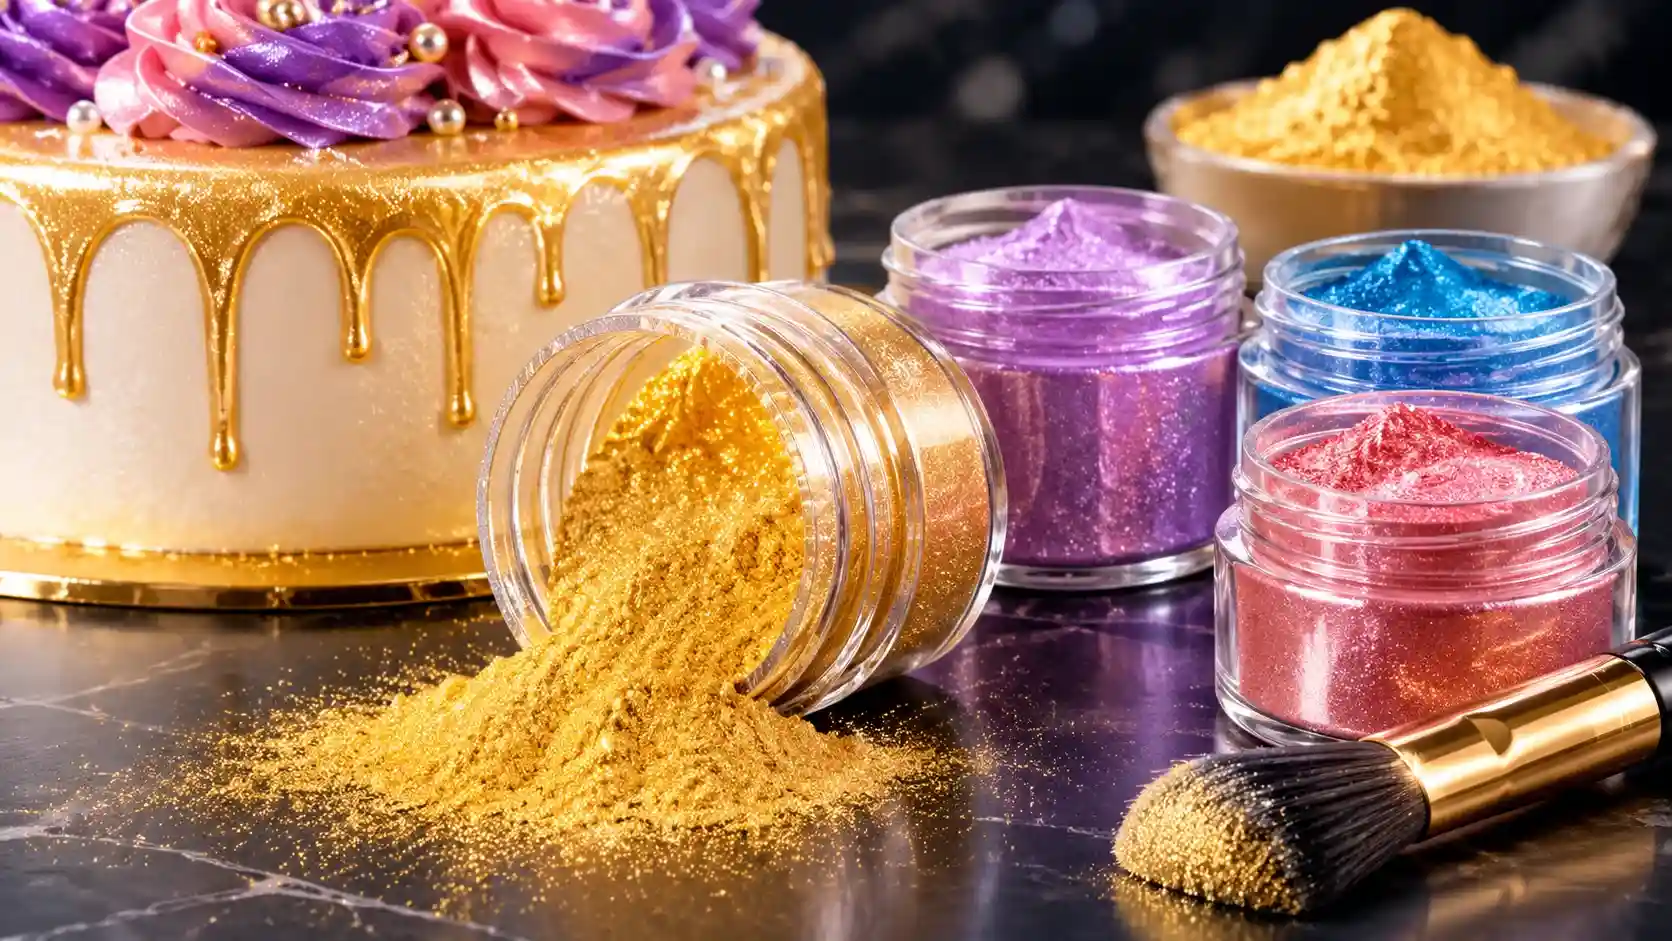
What Is Luster Dust and Why Does It Matter?
Luster dust is a fine, edible powder made from mica-based pearlescent pigments that creates a pearl, satin, or metallic finish on food . Unlike chunky edible glitter, luster dust is ultra-fine, giving you a smooth shimmer rather than visible sparkle flakes.
The critical distinction: not all luster dust is edible. Some products sold under names like “luster dust,” “disco dust,” or “highlighter” are labeled “non-toxic” but contain copper, lead, or other heavy metals unsafe for consumption . In 2018, six children became ill after eating a cake decorated with a “non-toxic” luster dust later found to be almost entirely copper powder .
The rule is simple: If the label says “non-toxic” or “for decorative purposes only” without an ingredient list, do not put it on food you will eat .
How to Tell If Your Luster Dust Is Actually Edible
Before you dust, paint, or sprinkle anything, verify your product passes these checks.
| Check | Safe (Edible) | Unsafe (Do Not Eat) |
| Label wording | “Edible” clearly stated | “Non-toxic” or “for decorative use only” |
| Ingredient list | Present on label | Missing or unavailable |
| Common ingredients | Mica-based pigment, titanium dioxide, iron oxide, cornstarch | Copper, lead, aluminum, unknown metals |
| Source | Reputable cake supply or food retailer | Craft store, online marketplace without documentation |
The FDA requires edible glitter and dust manufacturers to list ingredients . Mica-based pearlescent pigments are approved for food use when manufactured to guidelines . If you cannot confirm the ingredients, do not serve the dessert with that product on it.
The Right Way to Prep Your Surface Before Dusting
Luster dust adheres differently to every frosting and coating. Success starts with matching your technique to the surface.
Fondant and gum paste accept dry dust beautifully. The smooth, slightly dry surface grips pigment without any binder.
Royal icing must be fully cured—ideally overnight—before dusting. Wet royal icing will absorb the dust and turn patchy .
Buttercream is the trickiest surface. American buttercream develops a thin crust after 15–30 minutes, which accepts light dry brushing. Swiss or Italian meringue buttercreams stay soft and require the wet painting method instead .
Chocolate and candy melts work best with dry dusting once set, or with the mold-dusting technique described below.
Cookies with glaze should be dusted while the glaze is still slightly tacky, or brushed with a tiny amount of clear extract to create adhesion on dried icing .
Dry Brushing: The Fastest Method for Soft Shimmer
Dry brushing is your go-to for fondant, hardened royal icing, crusted buttercream, and set chocolate.
- Pick the right brush. A soft, wide makeup-style brush works for large areas. A small detail brush handles edges, peaks, and accents .
- Load minimally. Tap the brush into the jar lid—not the jar itself—to pick up a tiny amount. Tap off excess on the rim .
- Brush in one direction. Use light pressure and sweep across the surface. Build up in two or three thin layers rather than one heavy coat .
- Stop before it looks “done.” Luster dust intensifies slightly as it settles. A subtle sheen photographs better than a heavy metallic crust.
Best colors for beginners: Gold hides uneven application better than silver. Rose gold is forgiving on pink and white frostings .
Wet Painting: Achieving Solid Metallic Finishes
When you need opaque gold, liquid silver, or painted details that look like metal, mix luster dust into a liquid binder.
The formula: Combine ½ teaspoon luster dust with clear alcohol (vodka, Everclear, or lemon extract) a few drops at a time until the mixture reaches the consistency of nail polish . Water is not a substitute—it softens fondant, leaves streaks, and evaporates too slowly .
Application steps:
- Paint with a soft round brush using smooth, overlapping strokes.
- Let the first coat dry 2–3 minutes, then apply a second coat for full coverage.
- If the paint thickens as alcohol evaporates, add one drop of alcohol—never water.
- For edible gold leaf effects, use a highlighter dust rather than standard luster dust. Highlighter delivers opaque metallic coverage; luster gives a translucent pearl .
Alcohol-free option: For school events or alcohol-restricted settings, lemon extract works. It dries slower but produces acceptable results .
How to Apply Luster Dust to Cakes: Tiered and Sculpted Designs
Cakes present the largest canvas and the greatest opportunity for dramatic finishes.
For a full pearl finish on fondant tiers: Dry brush Super Pearl or similar white luster dust in circular motions across the entire surface. Work in sections. Overlap strokes to avoid visible lines.
For metallic stripes and geometric patterns: Apply luster dust to a Frost Form liner before adding ganache. Tape off stripe sections, brush a thin layer of flavorless oil on exposed liner areas, dab luster dust with a fluffy brush (do not drag), remove tape, and pour ganache . This technique delivers crisp metallic stripes without waiting for ganache to set.
For painted accents on fondant: Mix gold or silver luster dust with vodka and paint monograms, borders, or drip details. Two thin coats outperform one thick coat every time.
For a textured flake finish: Paint the entire tier with matching luster dust mixed with alcohol, apply a thin layer of piping gel, then press edible flakes into the gel while wearing food-safe gloves . This creates dramatic texture for wedding and celebration cakes.
Luster Dust on Cookies: Timing Is Everything
Cookies are the most forgiving dessert for luster dust beginners. The small surface area and low stakes make them ideal for practice.
Royal icing cookies: Dust with a soft brush after the icing has fully hardened. For patterns, place a food-safe stencil against the cookie and brush luster dust over it, then lift carefully .
Glazed cookies: Sprinkle edible glitter or brush luster dust while the glaze is still wet. The glaze acts as adhesive. For dried glaze, brush a tiny amount of clear extract on the target area first .
Un-iced shortbread or butter cookies: Sprinkle edible dust immediately after baking while the surface is warm and slightly tacky. A light egg wash before baking also helps the dust adhere .
Two-tone designs: Flood a cookie with white icing, let it set, then stencil gold luster dust across half the surface. The contrast creates a professional look with minimal effort.
Chocolates, Cake Pops, and Candy: Cold-Surface Techniques
Chocolate’s cold, smooth surface changes how luster dust behaves. The wet painting method dries almost instantly here, making it ideal for detailed work.
Mold dusting (the zero-effort method): Brush dry luster dust inside a silicone candy mold before pouring melted chocolate. Once set and unmolded, the chocolate emerges with a pre-applied shimmer . This works beautifully for chocolate hearts, bonbons, and shaped candies.
Cake pops: Dip in candy melts, let set completely, then dry-brush pearl or gold luster dust onto the surface. Do not dust before dipping—the coating will cover the shimmer .
Chocolate-covered strawberries: Once the chocolate sets, brush lightly with red or rose gold luster dust for a metallic ruby sheen .
Painted details on set chocolate: Mix luster dust with vodka and paint directly onto molded chocolate. The alcohol evaporates within seconds on the cold surface, leaving crisp metallic lines.
Cupcakes and Macarons: Small Canvas, Big Impact
Cupcakes and macarons reward precision over coverage.
For piped buttercream swirls: Target only the peaks with dry luster dust using a fine detail brush. Silver on chocolate buttercream or gold on vanilla creates dimensional highlights that look intentional .
For fondant-topped cupcakes: Dry brush the entire fondant surface in circular motions for an even pearl finish.
For macarons: Dust the smooth dome lightly with pearl or rose gold luster dust after the shells have cooled completely. A soft fan brush distributes a diffused shimmer without disturbing the delicate shell surface.
The floating dust technique: Tap a lightly loaded brush from 6 inches above the cupcake. Particles drift down for a soft, diffused shimmer across the entire top—a different effect from deliberate brushing .
Luster Dust vs. Edible Glitter vs. Disco Dust: What’s the Difference?
| Product | Texture | Finish | Best For |
| Luster dust | Ultra-fine powder | Pearl, satin, metallic | Fondant, painted details, chocolate, elegant finishes |
| Edible glitter | Fine flakes | Visible sparkle | Cupcakes, cookies, cocktails, textured shimmer |
| Disco dust | Chunky flakes | Bold sparkle | Statement decorations (verify edible status carefully) |
| Highlighter dust | Fine powder | Opaque metallic | Full gold/silver coverage, edible gold leaf effect |
| Petal dust | Fine powder | Matte to soft shimmer | Flowers and natural-looking finishes |
Luster dust and highlighter dust are often confused. Luster is translucent and lets base colors show through. Highlighter is opaque and delivers solid metallic coverage . For a true gold finish on fondant, highlighter outperforms luster.
Common Mistakes That Ruin Luster Dust Results
Using water instead of alcohol. Water softens fondant, creates streaks, and does not evaporate cleanly. Always use clear alcohol or extract for wet painting .
Overloading the brush. A heavy-handed first swipe causes clumping that cannot be undone. Start with barely any dust and build up .
Dusting wet buttercream. Soft buttercream will absorb the dust and turn muddy. Wait for a crust, or use the wet painting method.
Skipping the label check. “Non-toxic” does not mean edible. This single mistake causes real illness .
Using the same brushes for savory cooking. Luster dust residue transfers flavor. Keep dedicated food-safe brushes for decorating only .
Storing Luster Dust for Maximum Shelf Life
Keep luster dust in its original jar with the lid tightly sealed. Store in a cool, dry place away from steam, direct sunlight, and moisture . Properly stored luster dust retains its shimmer and consistency for years.
Do not transfer luster dust to unlabeled containers. The original label carries the ingredient list and edible certification—information you need every time you bake for others.
Frequently Asked Questions
Can I use luster dust on buttercream frosting?
Yes, but only after the buttercream forms a crust (15–30 minutes for American buttercream). Swiss or Italian meringue buttercreams stay soft and require the wet painting method—mix luster dust with clear extract or vodka and paint it on .
Is luster dust the same as edible glitter?
No. Luster dust is an ultra-fine powder that creates a smooth pearl or metallic finish. Edible glitter consists of larger flakes that deliver visible sparkle. Both can be edible, but both must be labeled “edible” to be safe .
What liquid do you mix with luster dust?
Clear alcohol—vodka, Everclear, or clear lemon extract. Alcohol evaporates quickly and leaves a clean metallic finish. Water makes fondant sticky and dries too slowly .
Can you eat luster dust straight from the jar?
Technically yes if it is certified edible, but it is tasteless and meant for decoration. The real risk is consuming non-edible luster dust labeled “non-toxic,” which may contain heavy metals. Always verify the label .
Does luster dust work on chocolate?
Yes. Dry brush onto set chocolate, paint with alcohol-mixed luster dust for details, or dust the inside of a mold before pouring melted chocolate for pre-shimmered candies .
How much luster dust do I need for a cake?
A 10-gram jar covers several standard-sized cakes or 50+ cupcakes with light coverage . Start with a small amount—you can always add more, but you cannot remove excess.
Final Thoughts: Sparkle With Confidence
Luster dust turns ordinary desserts into showpieces, but the shimmer only matters if the product is safe. Check the label. Verify the ingredients. Match your technique to the surface. A soft brush, a few drops of vodka, and five minutes of practice separate a homemade cupcake from a bakery-quality finish.
Your next cake deserves that pearl sheen. Your cookies deserve that metallic edge. Grab a certified edible luster dust, read the label one more time, and start brushing. The shimmer is waiting.